Last updated on November 13th, 2025 at 05:10 pm
This article is by – Matthew James
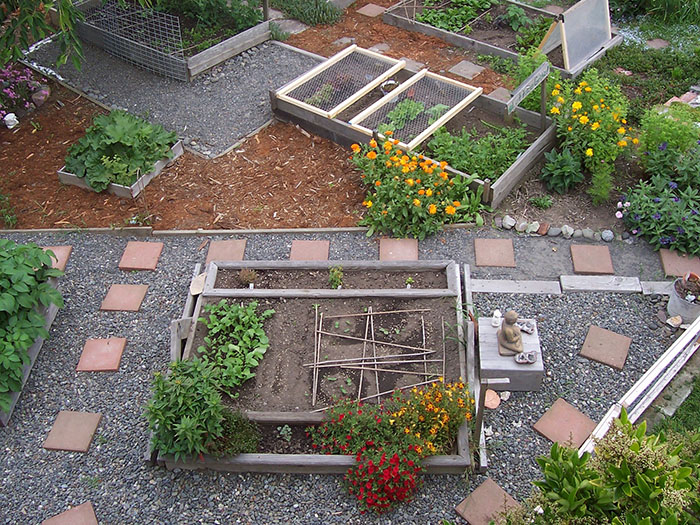
If you want your garden to thrive and grow strong and healthy plants, it is important to know all the important tips and tricks. One of the most important aspects of gardening is, of course, watering. Find out about the best practices for watering your garden, and make sure all of your plants are receiving as much water as they need, as often as they need.
Plumbing and Watering Basics
Before starting any garden-watering project, it’s essential to understand the basics and the main principles behind it. Just like any home improvement task, having a solid grasp of how things work will save you time, prevent mistakes, and help your system run more efficiently. When it comes to best practices for watering your garden—especially if you plan to tie into your home’s existing plumbing—it’s a good idea to inspect the plumbing inside your house first. Understanding where your water lines run, how much pressure your system provides, and whether any valves or connections need attention will give you a clearer picture of what’s involved before you begin. This step becomes even more important if your irrigation system depends directly on your home’s plumbing, as any issues indoors can affect water flow, pressure, and overall performance outdoors..
The first thing you want to know is where the shutoff valves are located and what each of the controls is. The first place to look is in the basement, as most valves can be found there, many times hidden behind access panels. You can test what each specific valve controls by closing them off one at a time while opening the faucets and flushing the toilets in your house. The area where the water line enters the home is usually the location of the main house shutoff valve.
To get the highest water flow rate into your garden, you will have to tap into the inside connection. You can tap into a one-half-inch water line, but you would get an even higher flow if you could tap into an internal connection of a three-fourths-inch water line.
Installing an Outdoor Faucet
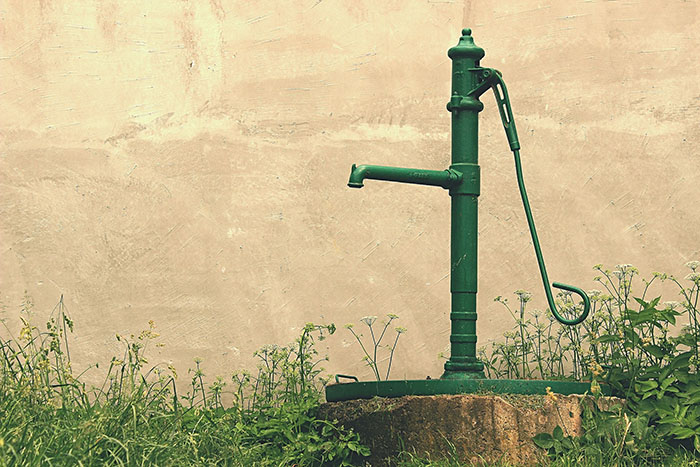 If you want to make your garden watering much easier and get rid of the hose you constantly have to drag around, try installing a remote outdoor faucet. This involves digging up a trench, getting the proper tubing type, blowing out your system, and finally mounting the faucet itself.
Digging up a Trench
Before installing a trench, it is wise first to call a utility company to locate and deal with buried pipes and cables in your yard. After they have made it safe for you to dig up your trench, you can get to work. Burying your water line six inches deep is usually deep enough for our gardening purposes.
While digging, you may come across hard clay or rocky soil which will indicate that you have gone deep enough. If the ground is soft, on the other hand, you can even go up to 12 inches deep, which will reduce the risk of future damage.
If you want to prevent damage to the tubing under your trench, you can cover it with a couple of inches of soil and pour about two inches of a dry concrete mix before covering up the trench completely.
PEX or CPVC Tubing?
The best tubing solution for outside faucets is PEX tubing, which runs best underground. However, you would have to invest in a 3/4-inch PEX crimping tool, which can be a bit more expensive. This kind of tubing, however, is flexible, and it will not easily damage or freeze. If you want to keep it on the cheaper side, then go with CPVC plastic tubing, but keep in mind that, unlike with PEX tubing, you will need to install fittings in areas where you have to make turns.
If you are not up for digging trenches, you can install an exposed plumbing system. In this case, however, copper pipes are the best choice.
The Blow-Out
First of all, it is important to blow out your system before the winter, and the freezing temperatures arrive. The easiest way to do it is with your home air compressor.
The first thing to do is install the blow-out valve below the surface in a gravel pit. To cover the system, you can use the valve box of your sprinkler system. Then close the main shutoff valve and connect the air compressor hose to it with the help of a reducer and a standard air hose fitting. Now simply open the faucet and the valve and let the water drain out. If there is any remaining water, close the faucet and blow it out with the compressor.
Mounting the Faucet
To mount the faucet, you can cut out a hollow PVC fence post. However, any material can be used for making a post. To protect the PEX from sunlight which can reduce its lifespan, you should let it run inside the post. The post should be set up at least 18 inches deep in the ground to be sure it will stay stable. Finally, simply screw on a sill cock flange to the post and install a screw-on backflow preventer.
Final Thoughts
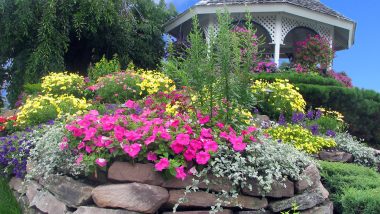
Before starting any green project in your garden, make sure you have all the tools needed for the project. Learn about all the best practices, and follow the advice given here and your garden will thrive. Doing some additional research and drawing a layout is always a good idea to avoid unnecessary mistakes.
Best practices for watering your garden
Author: Matthew James
Matt James is a freelance writer specializing in home improvement, smart technology, architecture & design.
He has a love of the outdoors and spending time with his dog Cooper. You can reach him on Facebook
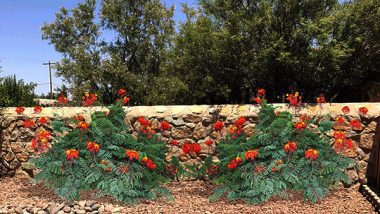
How about plants! Some need some more water and others don’t!
Hello, Selicia. I hope to write an in-depth article on the types of plants/trees that need more water than others.